Photography: Ten Tips for Capturing Light in Death Valley
A Photographer’s Paradise
Death Valley, a land of extremes, offers photographers a unique opportunity to capture dramatic landscapes, shifting dunes, and expansive salt flats. Its diverse terrain and varying light conditions make it a paradise for capturing stunning images. Whether you’re an amateur or a professional, understanding how to utilize different types of light can elevate your photography. In this blog post, we’ll explore some essential tips to help you make the most of Death Valley’s extraordinary lighting opportunities.
1. Embrace the Golden Hours
Shoot during sunrise and sunset to take advantage of the warm, soft light that enhances textures and colors.
The golden hours—shortly after sunrise and before sunset—provide ideal lighting conditions for landscape photography. In Death Valley, features like the Mesquite Flat Sand Dunes and Zabriskie Point come alive with rich hues and dramatic shadows during these times.
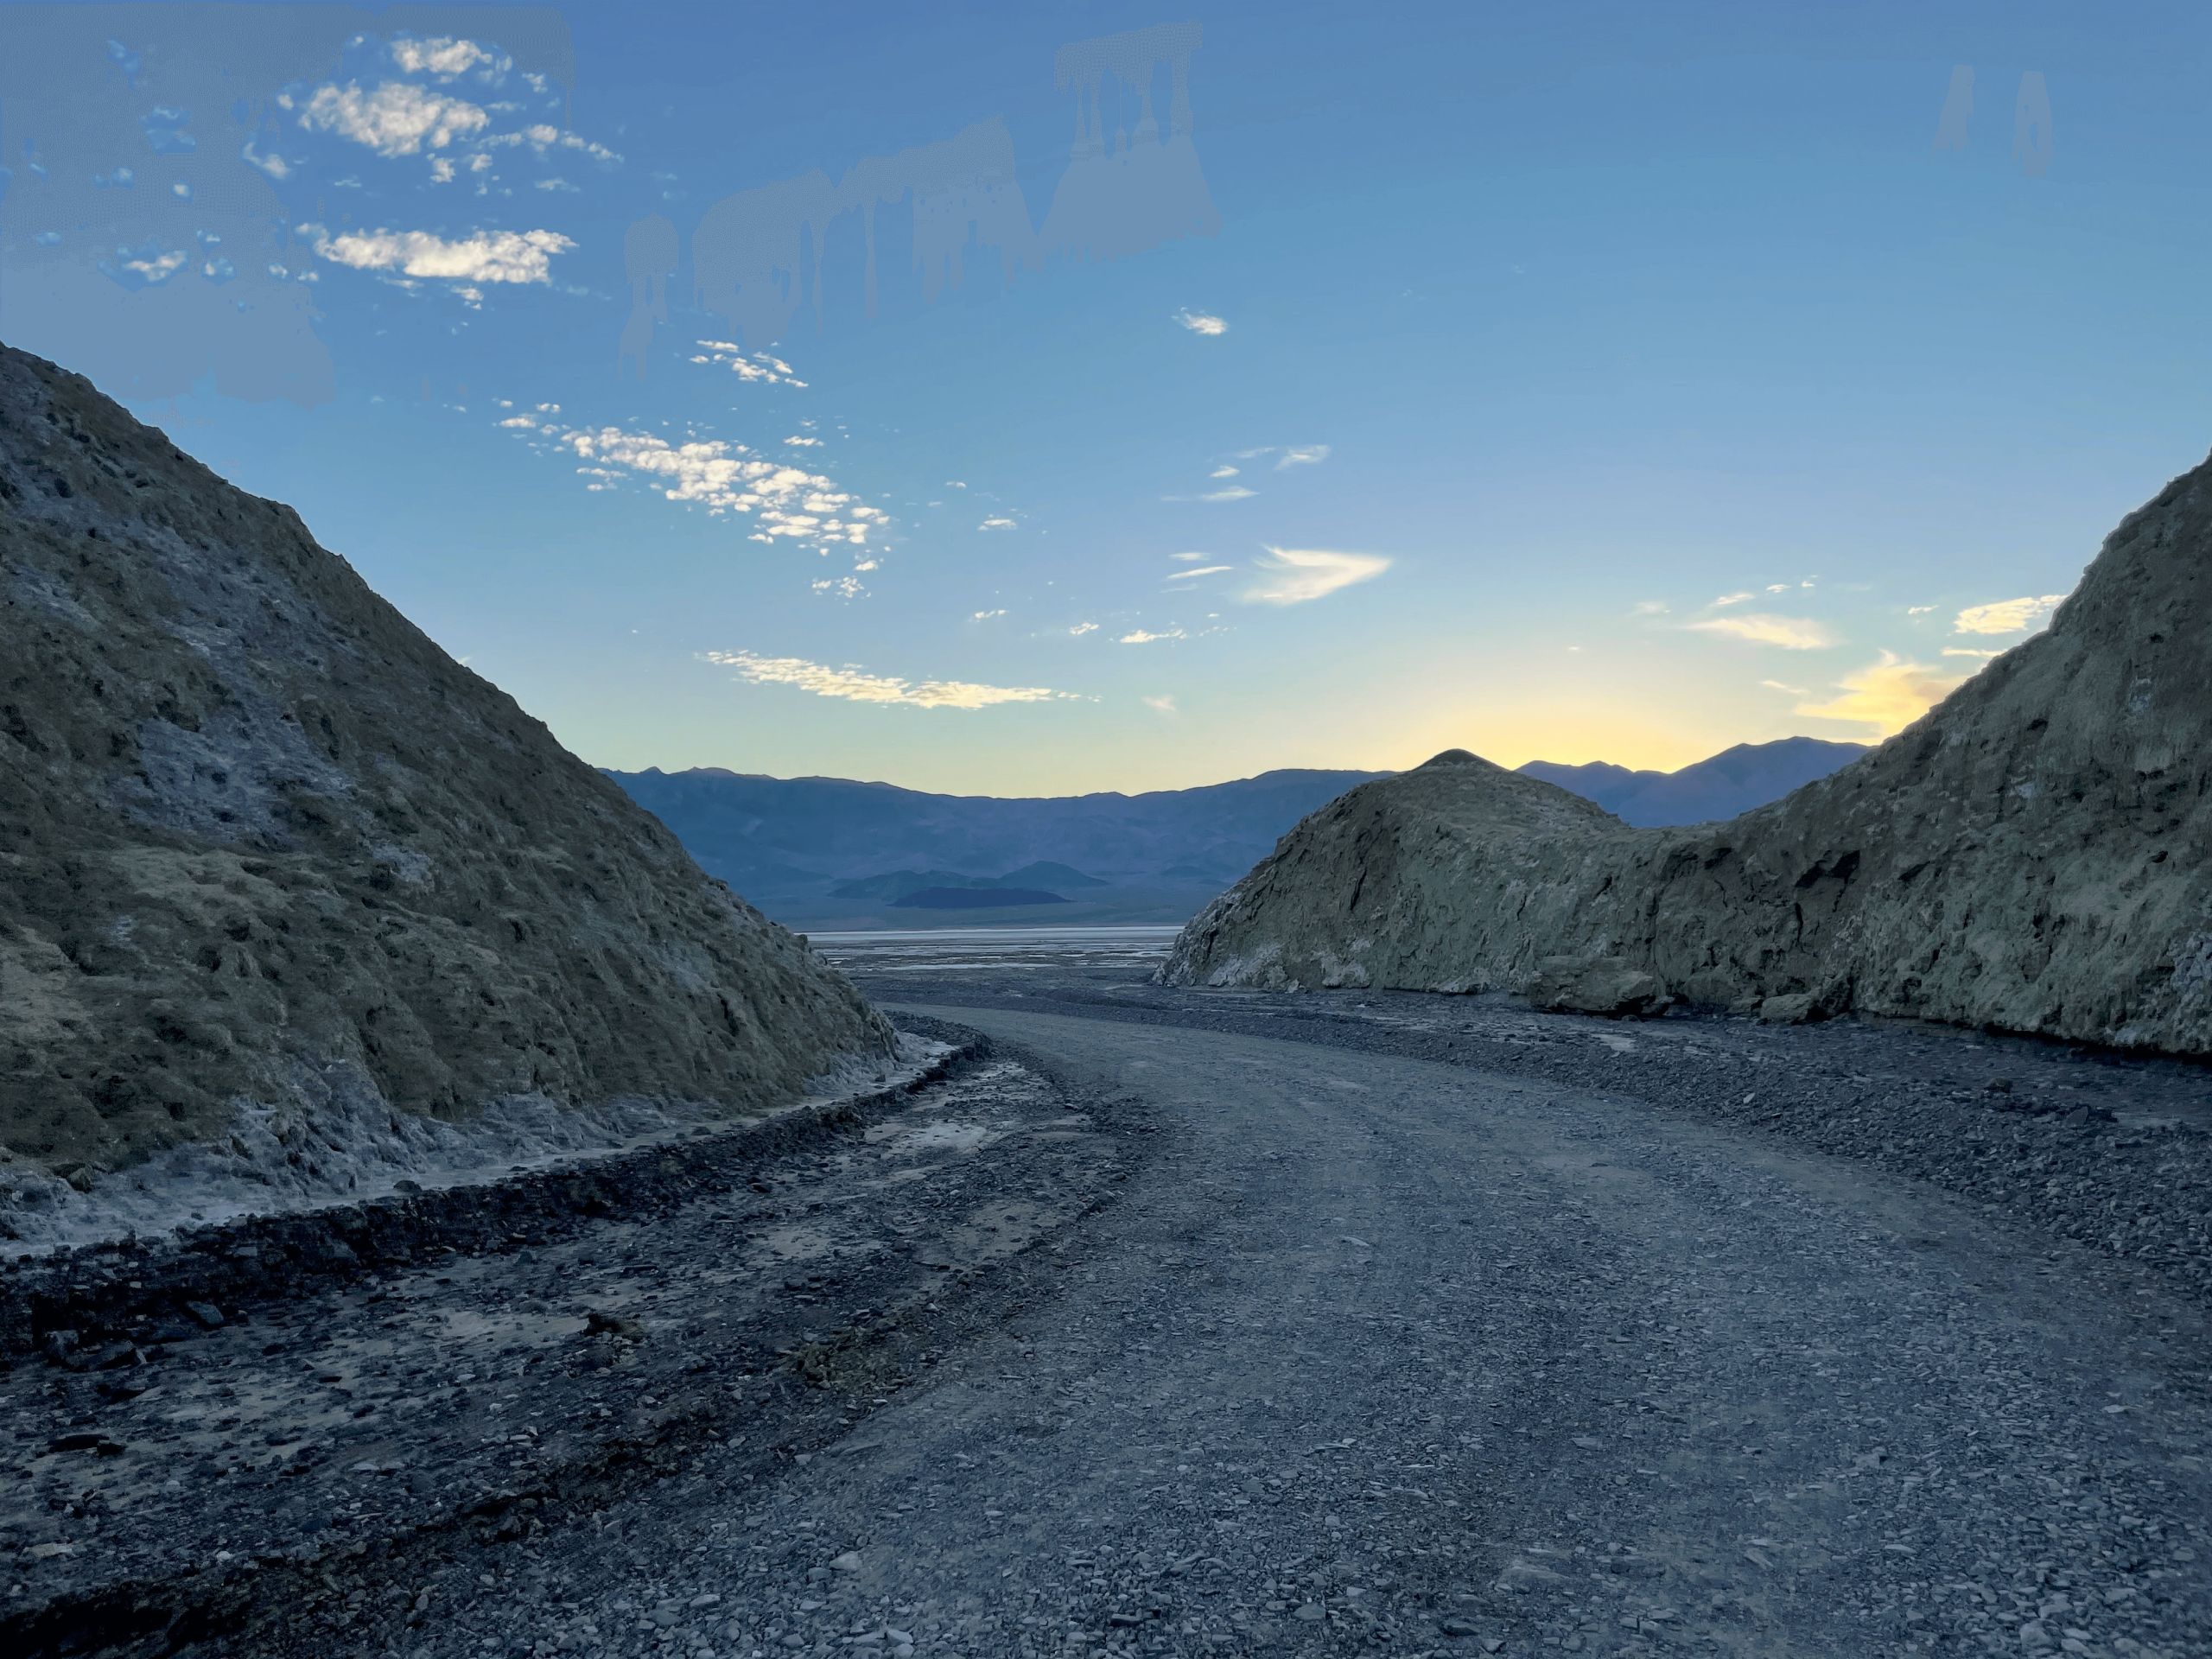
2. Explore the Blue Hour
Photograph just before sunrise or after sunset to capture the cool, diffused light of the blue hour.
This time of day offers a tranquil atmosphere with soft, blue tones. The blue hour is perfect for creating moody images of locations like Badwater Basin’s salt flats. The subtle light enhances textures without harsh shadows, providing a serene quality to your photographs.
3. Utilize Night Skies for Astrophotography
Take advantage of Death Valley’s low light pollution to capture stunning images of the Milky Way and star trails.
Death Valley boasts some of the darkest skies in the United States, making it ideal for night photography. Use a wide-angle lens with a large aperture and a sturdy tripod. Experiment with exposure times between 15 to 30 seconds to capture sharp stars, or opt for longer exposures to create mesmerizing star trails.
4. Use Neutral Density Filters for Daytime Long Exposures
Employ ND filters to allow for longer exposure times even in bright daylight.
Neutral density filters reduce the amount of light entering the camera, enabling you to use slower shutter speeds without overexposing your image. This technique can create motion blur in clouds or smooth out textures in any available water, adding a dynamic element to your daytime shots.
5. Apply Polarizing Filters
Reduce glare and enhance colors by using a polarizing filter, especially during midday when the sun is high.
Polarizers deepen blue skies and make clouds pop, which can be particularly effective when shooting expansive landscapes. They also reduce reflections from non-metallic surfaces, helping to enhance the natural colors of the landscape.
6. Capture Silhouettes with Backlighting
Position subjects like Joshua trees or rock formations against the light to create striking silhouettes.
This technique emphasizes shape and form, adding a dramatic flair to your compositions during sunrise or sunset. Silhouettes can add a powerful emotional impact to your images, highlighting the stark beauty of Death Valley’s unique features.
7. Look for Reflections After Rain
Utilize rare puddles or wet salt flats to capture reflections and double the impact of your images.
Rain is scarce in Death Valley, but it can transform areas like Badwater Basin into mirror-like surfaces when it occurs. These reflections can create symmetrical compositions that are unique and visually striking.
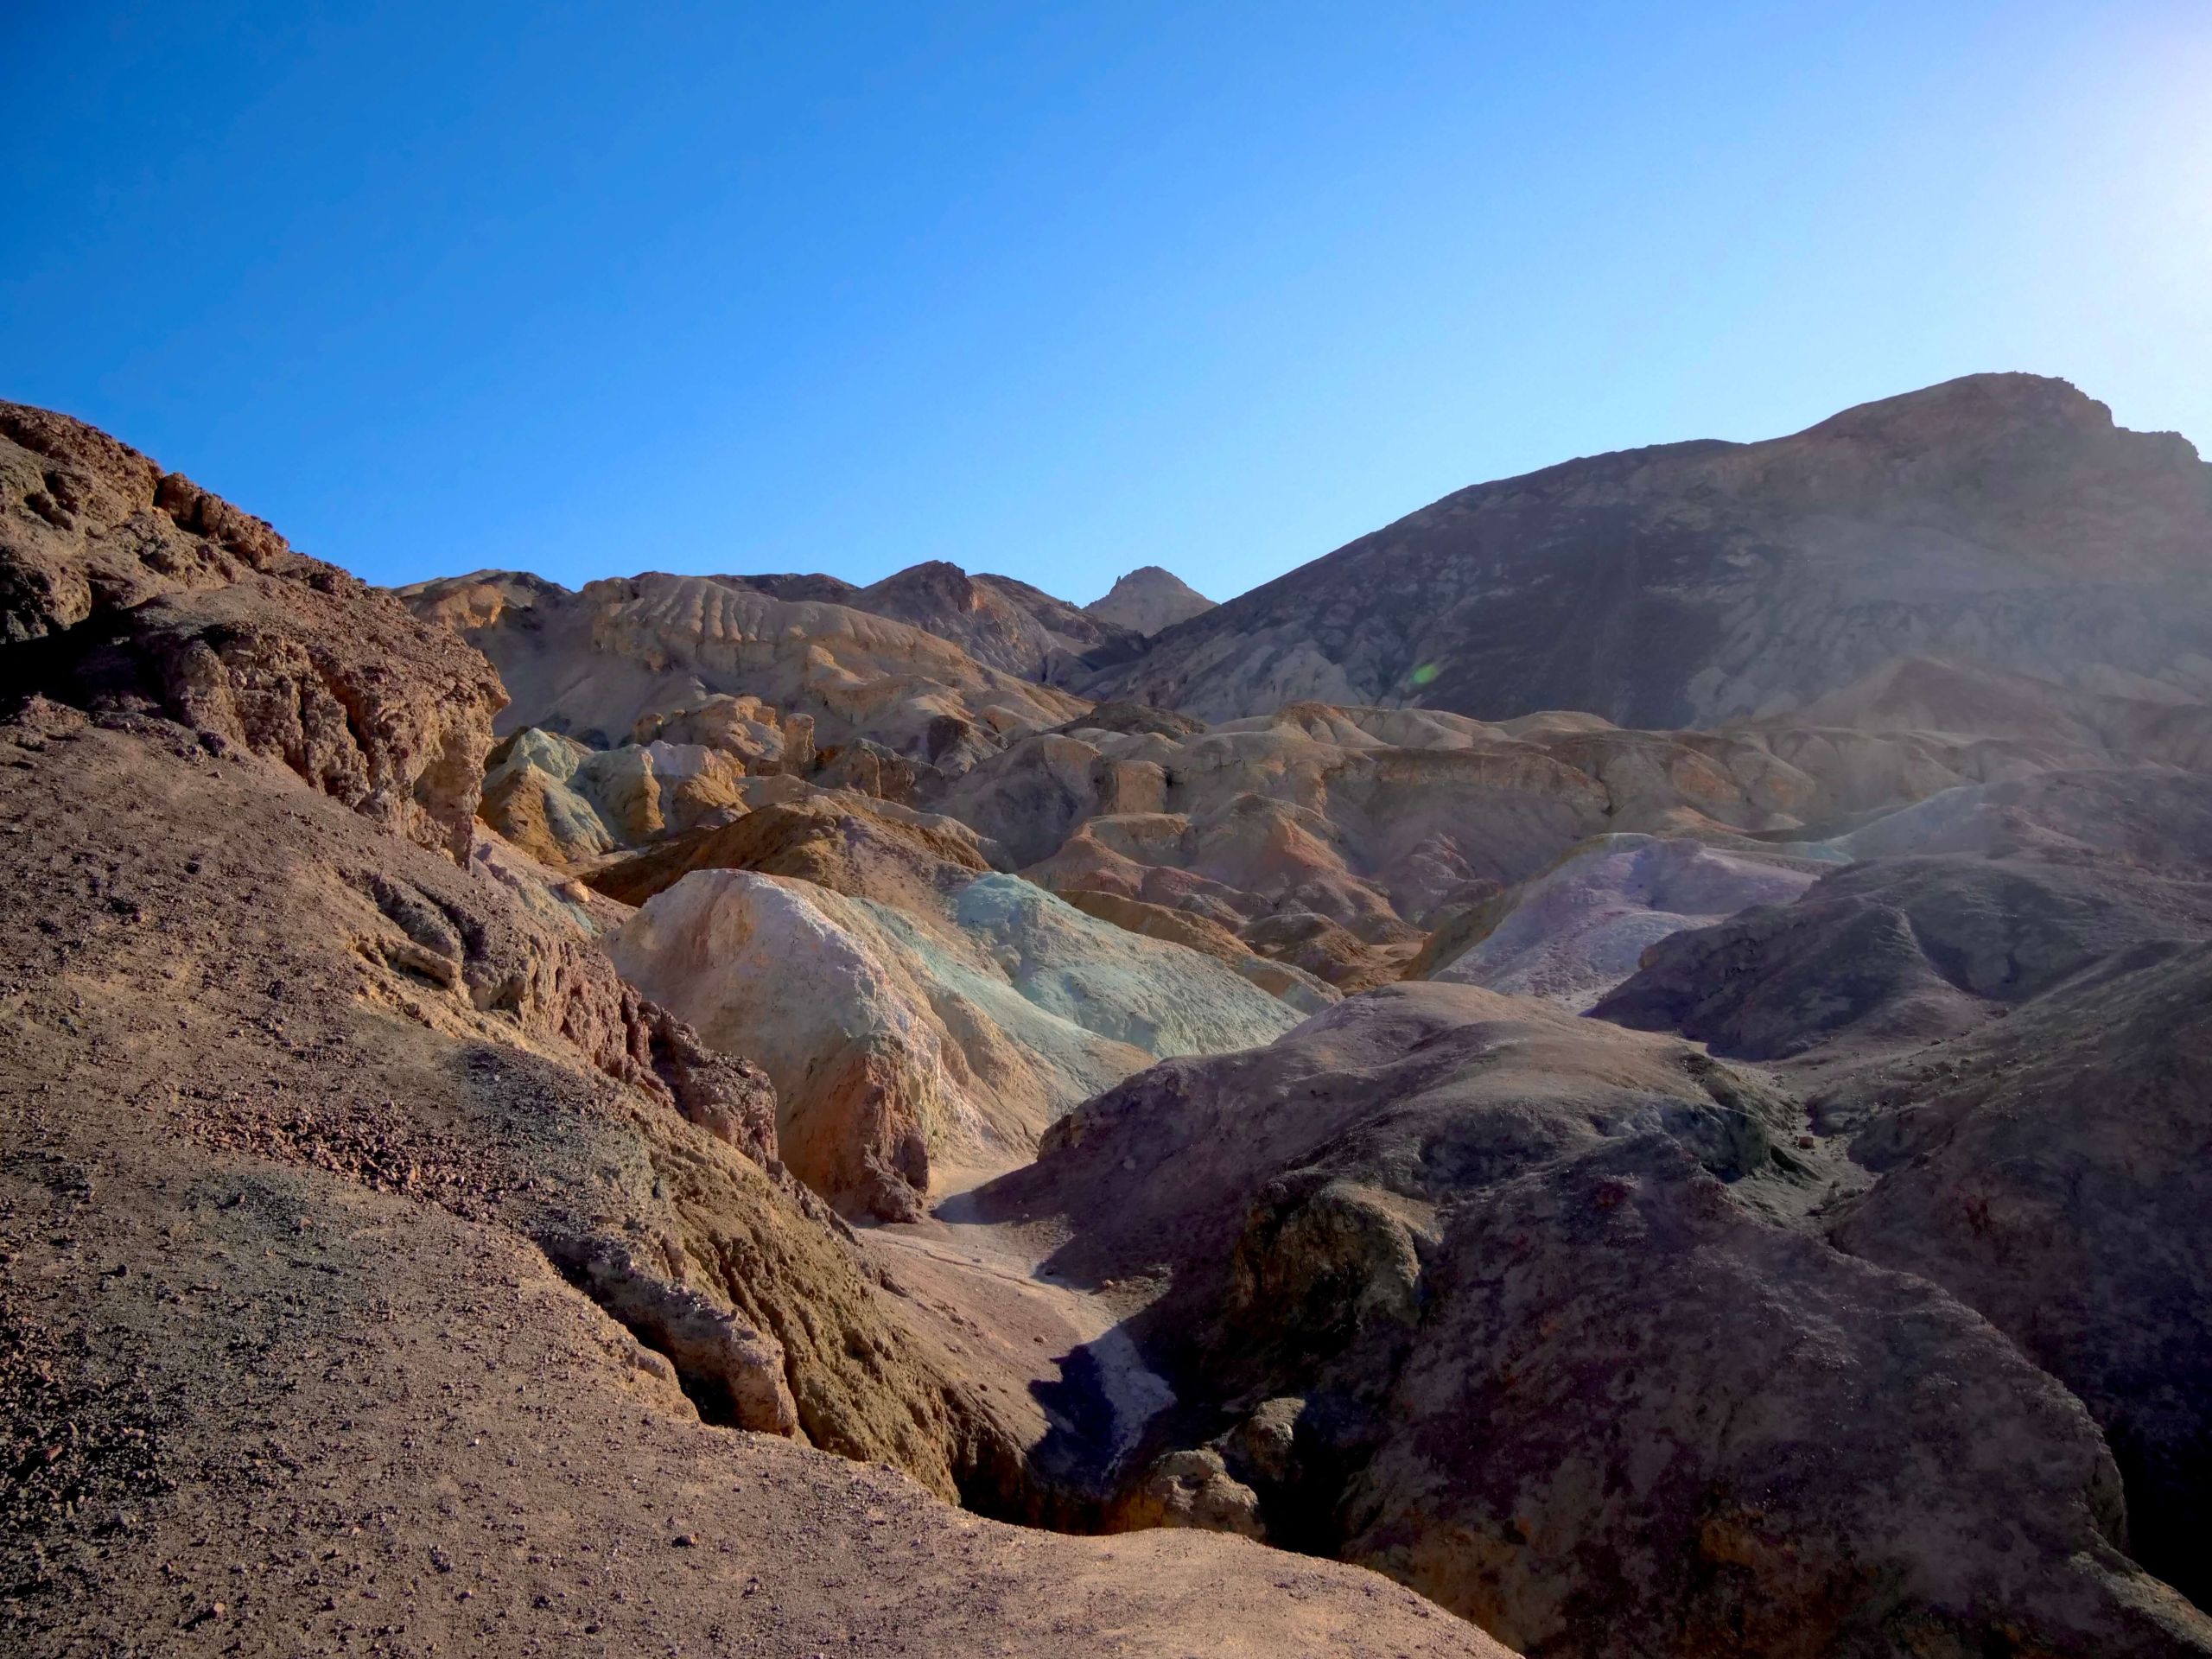
8. Use Side Lighting to Enhance Textures
Shoot when the sun is at a low angle (sunrise and sunset) to highlight the textures of sand dunes and rock formations.
Side lighting casts long shadows and emphasizes patterns, adding depth to your images. This is especially effective on the sand dunes, where the interplay of light and shadow highlights the ripples and contours in the sand.
9. Experiment with Black and White Photography
Utilize the stark contrasts and textures of Death Valley to create compelling black and white images.
Black and white photography can emphasize the dramatic contrasts between light and shadow in Death Valley’s landscapes. This approach strips away color distractions, allowing viewers to focus on shapes, textures, and tonal contrasts. Try this technique in areas like rugged canyons or the salt formations at Badwater Basin.
10. Incorporate Minimalist Compositions
Utilize the vast, open spaces of Death Valley to create minimalist images that emphasize light and form.
Death Valley’s expansive landscapes provide an excellent opportunity to focus on minimalism. By simplifying your compositions and concentrating on the interplay of light and shadow, you can create powerful images that convey a sense of solitude and scale.
Light and Landscape
Death Valley is a place where light plays a pivotal role in shaping the landscape. By understanding and utilizing the different lighting conditions—from the golden glow of sunrise to the star-studded canvas of the night sky—you can capture images that are stunning and evocative. Remember to plan your shoots, bring the right gear, and always stay safe in this extreme environment. With these ten tips in hand, you’re well on your way to creating memorable photographs that showcase the beauty and diversity of the Death Valley region.
Written by Kendra DeSomma
Kendra DeSomma is the Media Director for the Death Valley Natural History Association, a former resident of Death Valley NP, and a passionate interpreter of its vast and varied stories. From geology to ecology, wellness to history, her writing invites readers into a deeper relationship with the land through research, reverence, and reflection. Guided by a practice of mindfulness and a lifelong connection to nature, her work fosters curiosity, stewardship, and a sense of belonging for those who seek connection with the natural world.